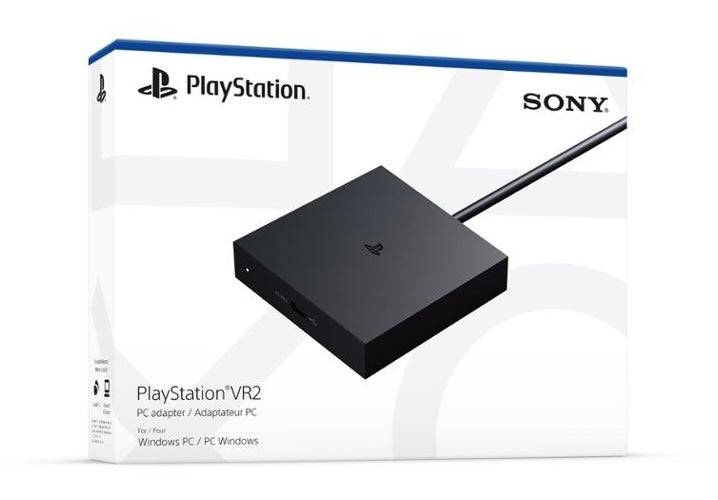
For PlayStation VR2 owners eager to explore SteamVR's vast library, the path to PC gaming was initially riddled with limitations. But Sony's $60 adapter changed the game, enabling PS VR2 compatibility with most PCs—provided they meet the minimum specs. However, despite its "plug-and-play" marketing, some setup hurdles remain depending on your PC configuration.
Before you begin, ensure you have everything needed. The adapter enables full SteamVR compatibility, but your PC requires Bluetooth 4.0, a DisplayPort 1.4 cable, a free AC outlet, and the installed Steam, SteamVR, and PlayStation VR2 apps. Remember, the Sense controllers charge via USB-C, so you'll need two USB-C charging ports and cables (or consider Sony's $50 charging station).
What You'll Need

First, verify your PC's compatibility using Sony's official PS VR2 PC Adapter preparation page. Assuming compatibility, gather these:
- PlayStation VR2 headset
- PlayStation VR2 PC adapter (AC adapter and USB 3.0 Type-A cable included)
- DisplayPort 1.4 cable (sold separately)
- Free USB 3.0 Type-A port (avoid extension cables or external hubs, though a *powered* external hub may work)
- Bluetooth 4.0 capability (built-in or via adapter)
- Steam and SteamVR installed
- PlayStation VR2 app installed in Steam
How to Connect: Step-by-Step Instructions
- Install Software: Download and install the Steam Windows client, SteamVR app, and PlayStation VR2 app.
- Pair Controllers: Enable PC Bluetooth (Settings > Bluetooth & devices). On each controller, hold the PlayStation and Create buttons until the light blinks. Add them via "Add device" in Bluetooth settings. If using an external Bluetooth adapter alongside a built-in one, disable the built-in adapter in Device Manager.
- Connect Adapter: Plug the PS VR2 adapter into a USB 3.0 port, connect it to your GPU via DisplayPort 1.4, connect the AC adapter, and connect the PS VR2 headset to the adapter.
- (Optional) Disable Hardware-accelerated GPU scheduling: For newer GPUs (like Nvidia RTX 40-series), navigate to Settings > System > Display > Graphics, click "Default graphics settings," and disable "Hardware-accelerated GPU scheduling." Restart your PC.
- Launch Apps & Setup: Power on the PS VR2 headset. Launch SteamVR, setting it as your default OpenXR runtime. Open the PlayStation VR2 app to update controllers and configure headset settings (Play Area, IPD, display distance).
Once complete, enjoy SteamVR!
Can You Connect Without the Adapter?
Currently, direct connection without the adapter is unreliable. While some older GPUs with VirtualLink might allow it (as reported by Road to VR), it's not a guaranteed solution.


